|
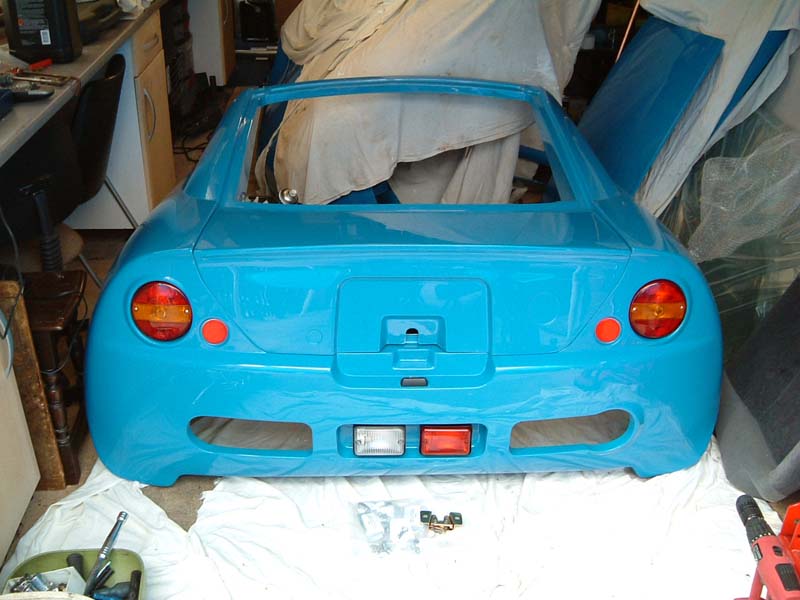
Today I started tackling the rear
clam shell. The picture shows the rear lights in place and all wired
up. The manual doesn't help here as it only covers the spyder!
.JPG)
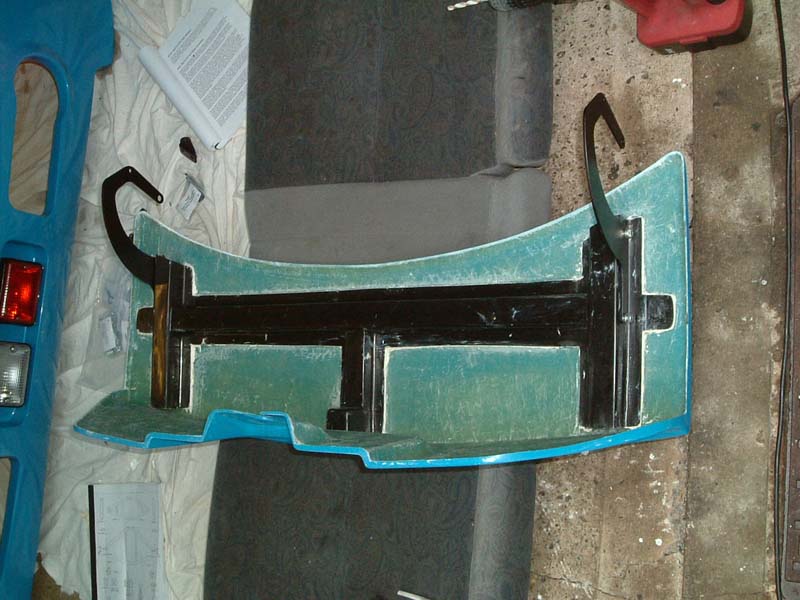
I then fitted the hinges to the
boot. This wasn't as bad as I was expecting it to be. Each bracket
bolts to the boot by two bolts. You have to cut a slot for the two bolts
so that they can move around for adjustment.
.JPG)
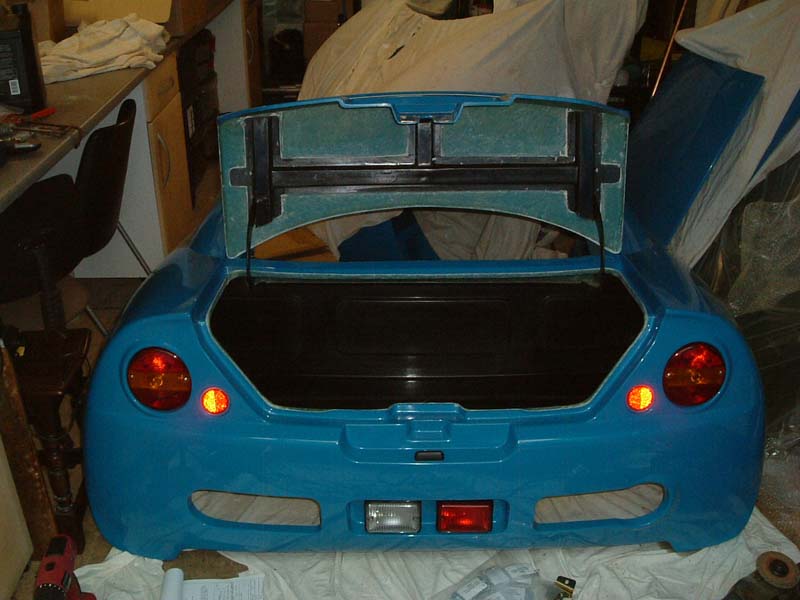
The boot lid fitted to the car. It took a little bit of
time to align it correctly, but I'm happy with it now
.JPG)
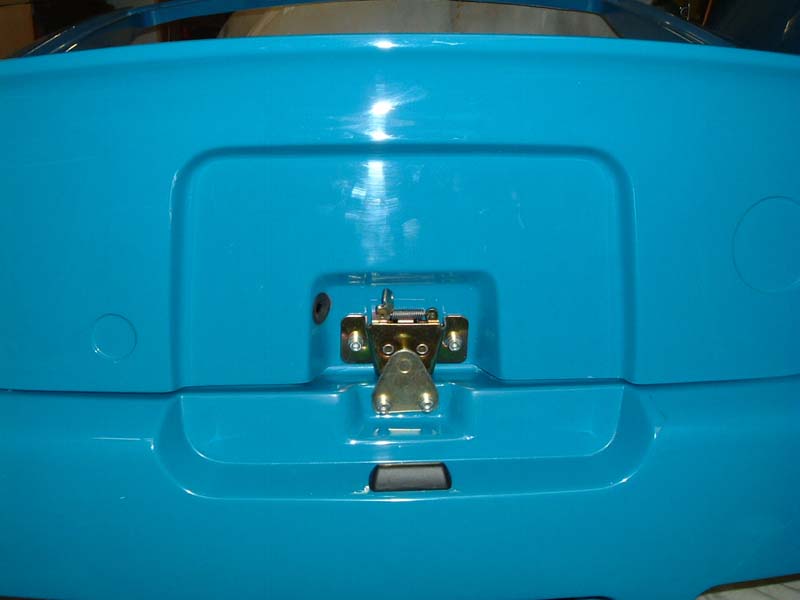
This is one part of the car that I really don't like. The
lock for the boot fits to the outside! Once the number plate is
fitted it is hidden, but I don't think its very good security. I didn't
drill the hole for the key lock, as I'll fit an electric boot release.
.JPG)
My new FSE, MPi fuel pump arrived today. It is a direct
replacement in the SPi fuel pump holder as shown.
.JPG)
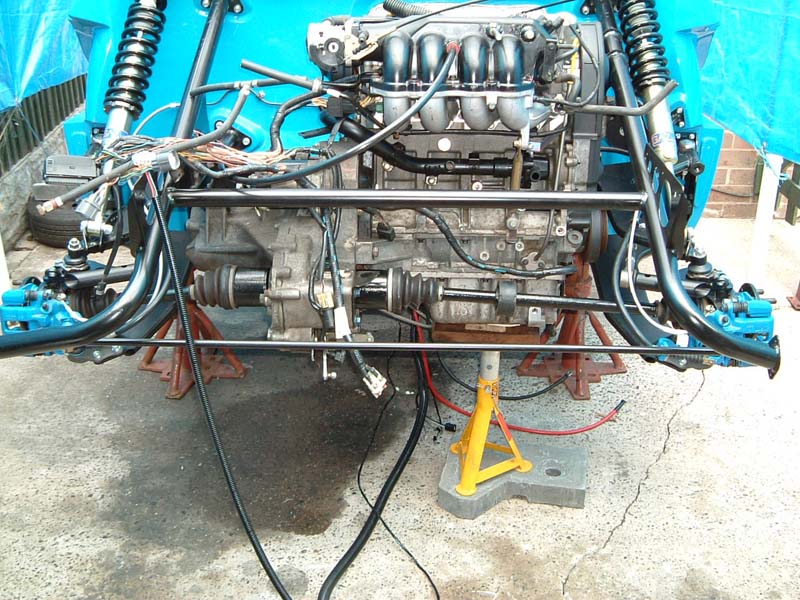
The drive shafts are now fitted. I had to take the nut off
the top ball joint on the hubs to give me enough room to get the drive shafts
in. I've heard of people having to 'bash' them in, but they went in
without any fuss.
.JPG)
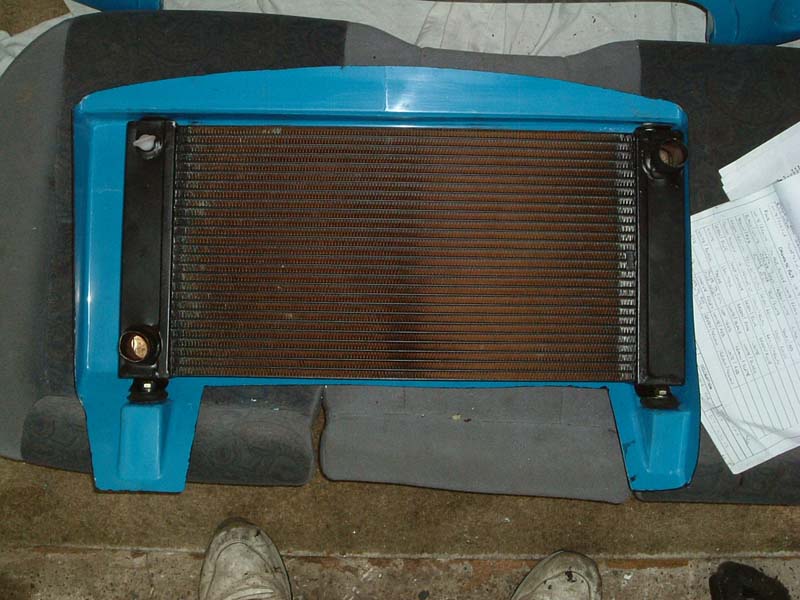
My custom made, 3 core radiator arrived from Loughborough
radiators this morning. I'd asked for brackets to be put on it, but they'd
been put on the long side of the radiator, rather than the short sides that most
people use. I didn't fancy soldering new brackets on, as it was nicely
painted up, so I managed to bend the brackets on it. I bent them over and
just managed to get them to bolt up into the standard mounting positions on the
metro radiator. I used rubber grommets between the rad and molding to give
it a bit cushioning.
.JPG)
Work has now begun on the front
clam shell. The indicators and side lights are supposed to be held in
place with self tappers. I really hate the use of these so I bolted them
on using some nice socket head bolts and nyloc nuts.
.JPG)
The front lights complete, except for the head lights which
still haven't arrived!
.JPG)
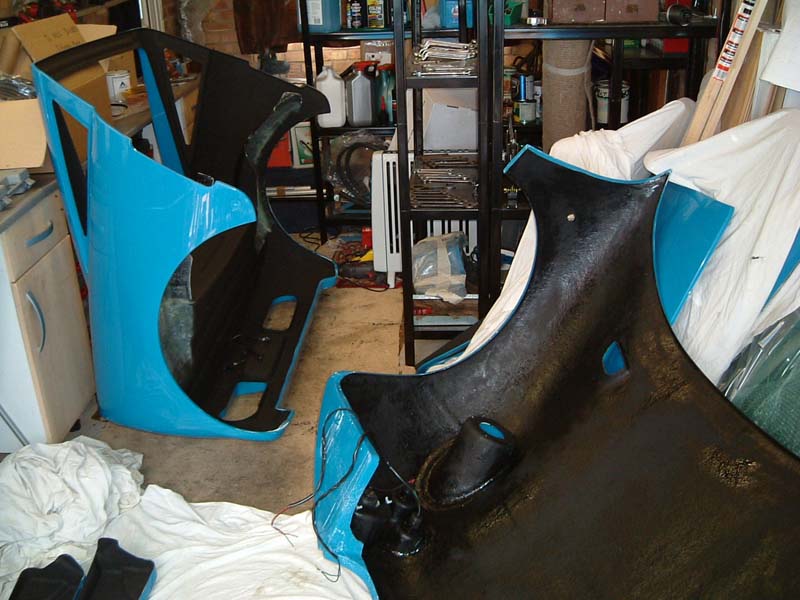
I got a great tip from the Team GTM forum that the paint to use
on the back of the fiberglass is black board paint. The front and rear
clam shells are shown below painted in it.
.JPG)
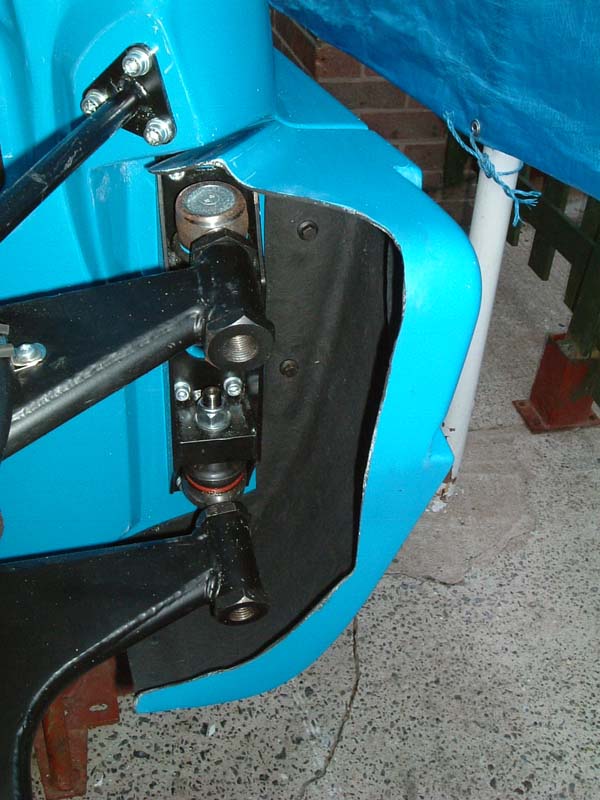
The last thing I did today was fit
the beam end covers and the front splash moldings. Here again self tappers
are supposed to be used, but I tapped a thread into the monocoque and used some
M6 bolts instead.
.JPG)
|