|
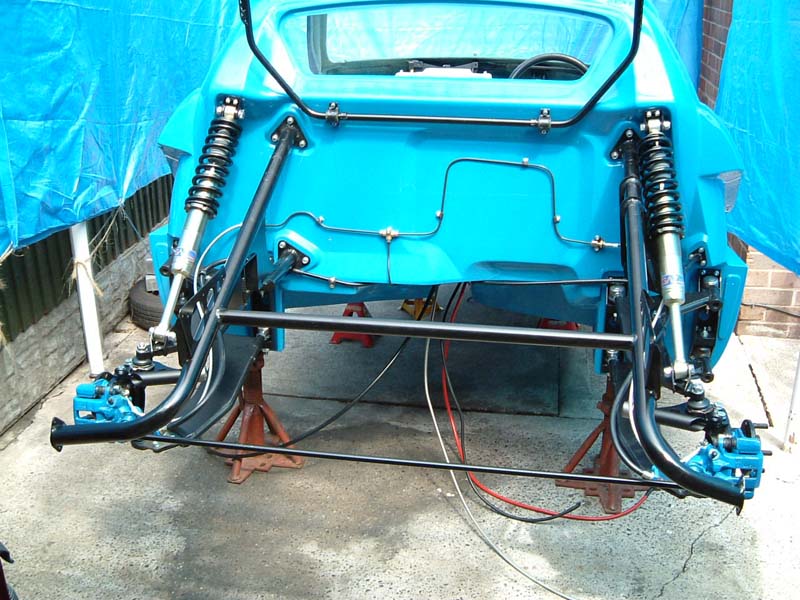
I've had a very good day today,
without any disturbances so I've managed to get a lot done. I started with
the engine frame. This is quite hard to do when you're working on your
own! It's quite cumbersome to hold and to mark the holes out,
etc. Saying that though, the indents on the tub lined up quite well for
this part.
.JPG)
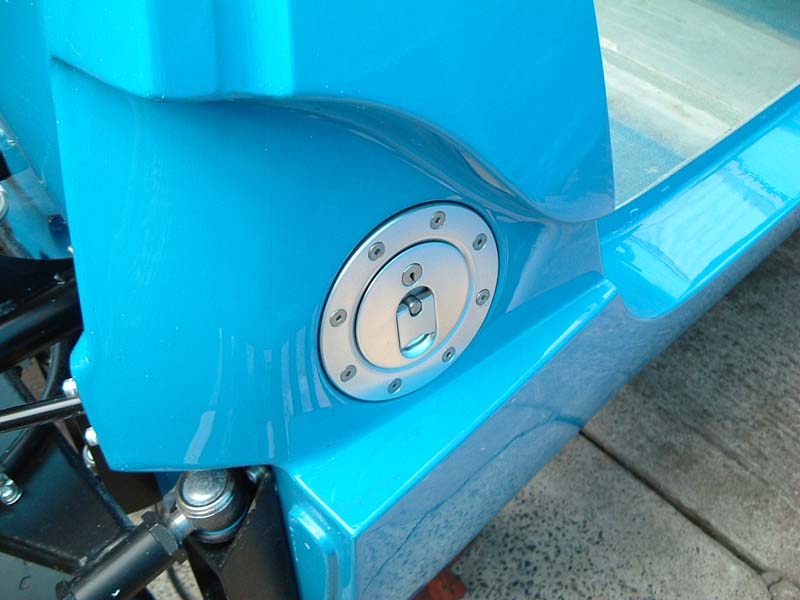
I next moved onto the filler cap. It's a really nice part
of the car. I've not put the filler pipes in yet, as I'm waiting for a
genuine metro fuel tank to arrive. I bought a reproduction Canadian tank, but
after hearing stories that they cause fuel starvation I decided to find a
genuine Rover one. The filler cap came with two sets of screws.
'Short ones' and 'long ones', neither were ideal, as the short ones were too
short and the long ones way too long!!
.JPG)
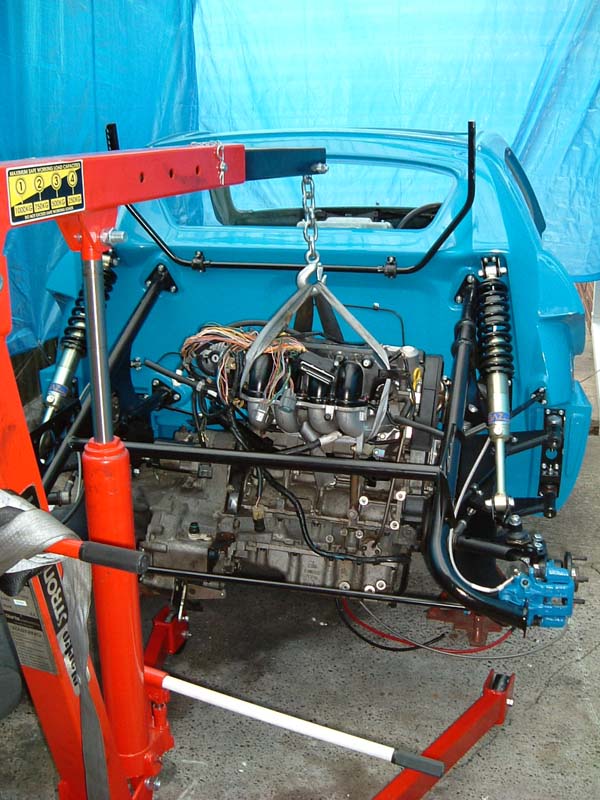
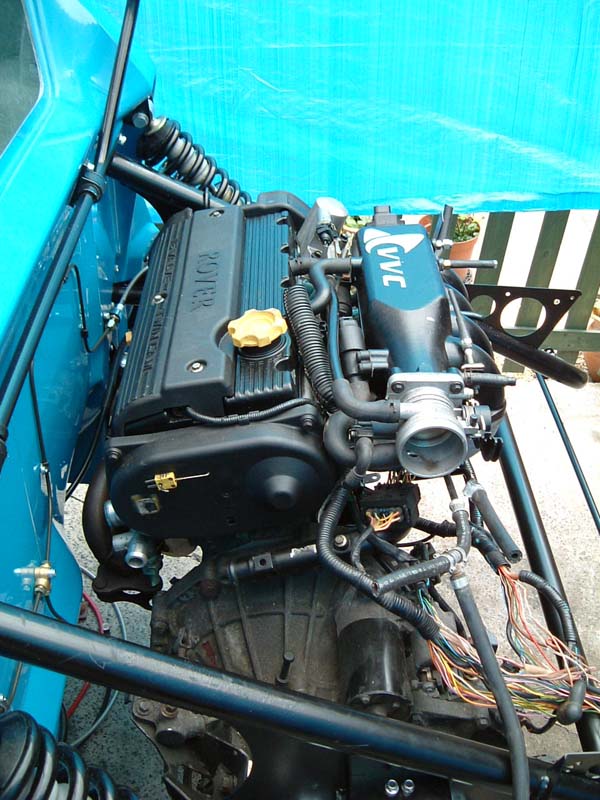
I couldn't resist attempting to fit the engine next!
.JPG)
I didn't have time today to get it bolted in as I came across a
few problems (which I've seen on other cars too). The first one, shown
below is that the MGF gearbox/hydraulic clutch mount hits the engine frame.
.JPG)
I quick wizz with the grinder and that was sorted!
.JPG)
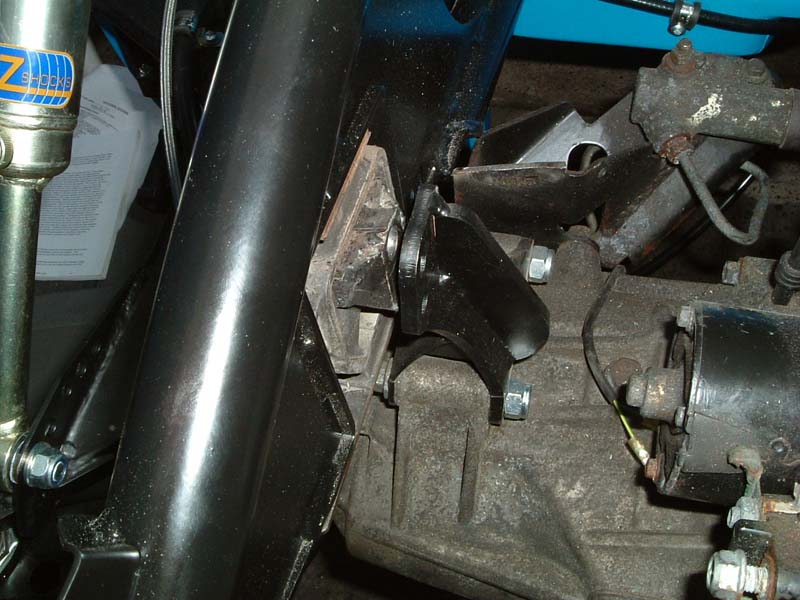
What stopped me getting any further tonight was the GTM gearbox
mount. As shown below, there's quite a gap and I didn't want to bolt it up
as the mount is rubber and I think it would just pull the mount out. Also
there seems to be quite a taper at the top of the bracket, i.e they're not
lining up parallel.
.JPG)
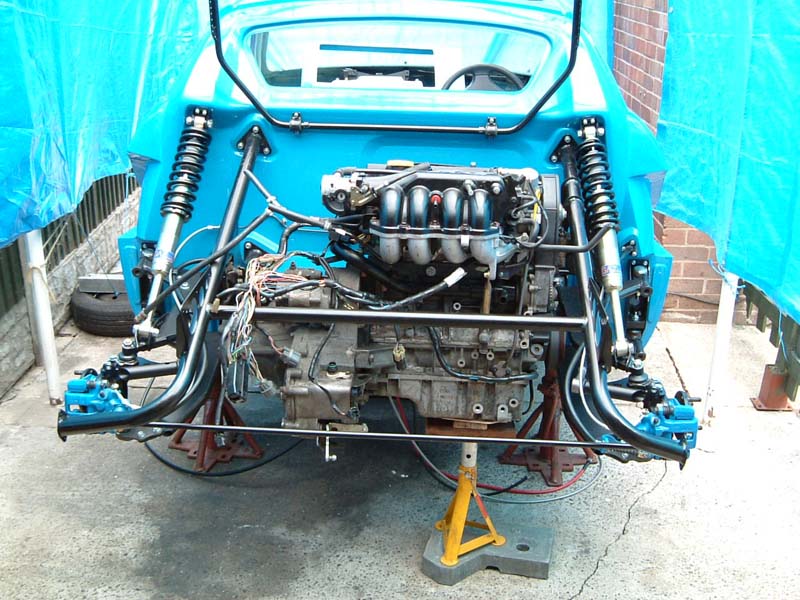
I came back to fitting the engine
the next morning and it all lined up beautifully, so I quickly bolted it all
up! The axle stand was just incase the whole car toppled back when I
lowered the weight of the engine, but it was fine!
.JPG)
I forgot to fit the heat shield on the brake lines before the
engine went in, so that'll be a bit fiddly to sort later.
.JPG)
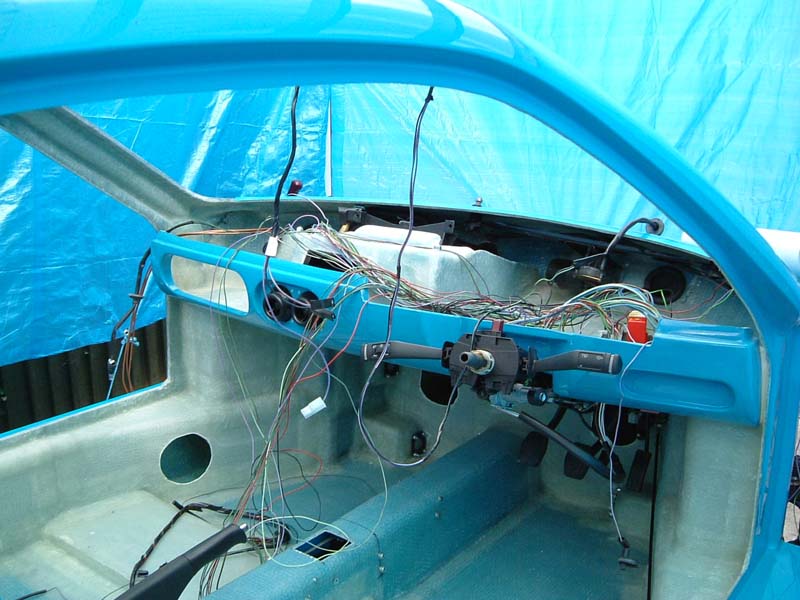
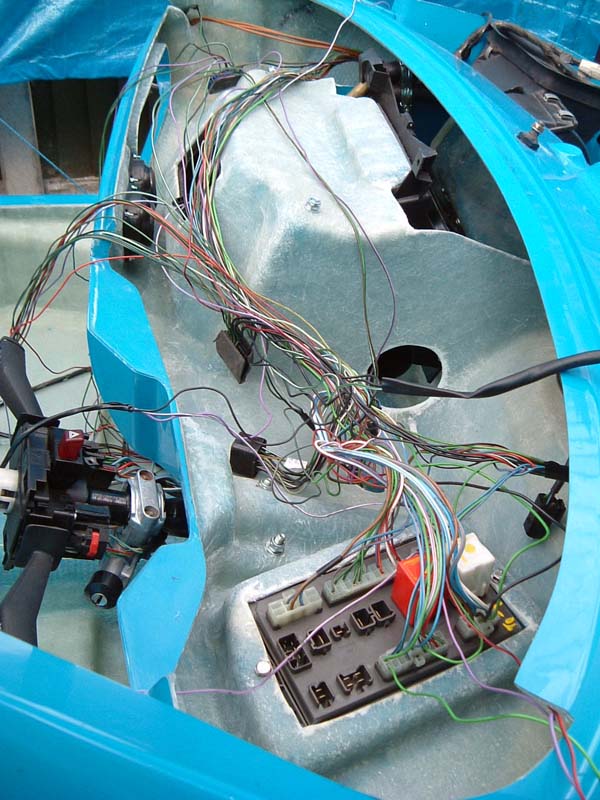
I started the wiring today. I thought it was going to be horrendous
when I saw the 'jungle' lying on the garage floor, but once I'd laid it out it
was pretty straight forward.
.JPG)
The wiring has quite a few looms that
all need to be joined
together. The original metro loom has to have the rear end cut off and is
then joined to the Libra main loom, in various connectors and soldered joints
etc. The Libra main loom runs through the tunnel to the back where it
joins the rear clam shell loom and the engine bay loom. At the front the
loom runs round the front radiator ducting then joins the front clam shell
loom. I've left it all messy at the moment so that I'm sure it all fits
before tidying it up and tying it back.
.JPG)
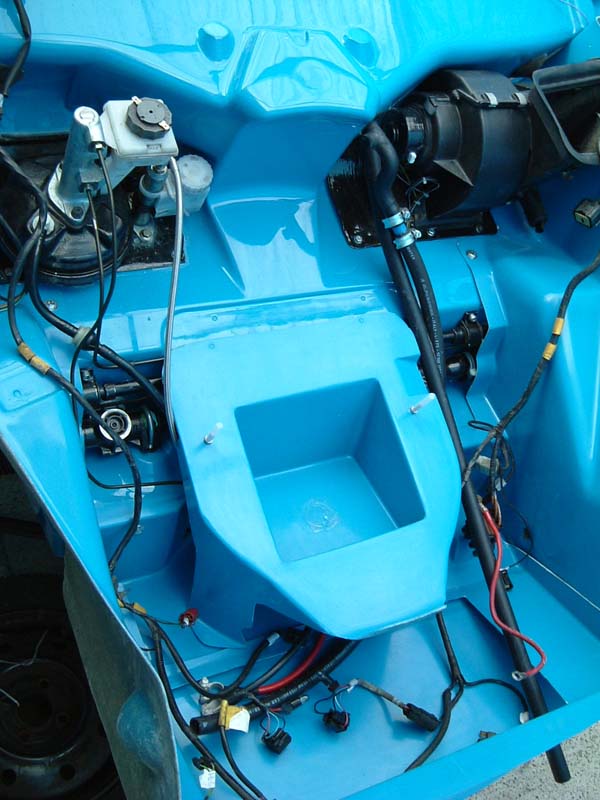
The original metro fuse box is used at the front. I'm
still waiting for my instrument pack to arrive, so I cant do much more wiring in
the dash board for now.
.JPG)
|