|
I've received one of the MGF gear
change cables. You can see it loosely hanging down in the picture.
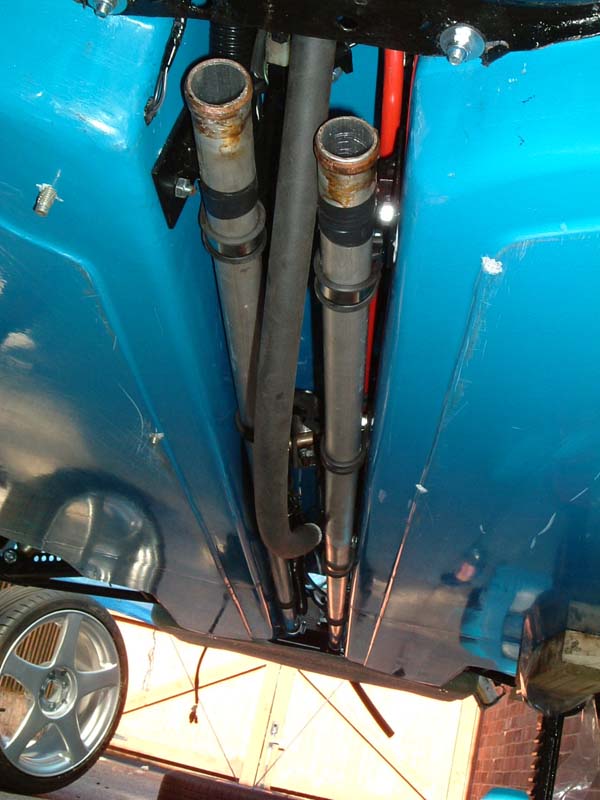
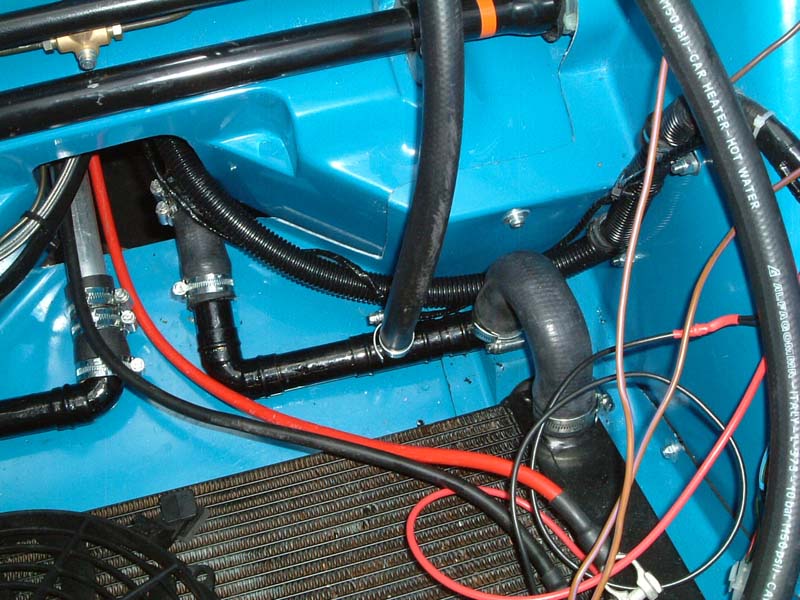
I've fitted the radiator pipes now that the gear change mechanism is fitted and I
know how much room I've got. I'm glad I've not fitted the separate heater pipes as
it'd been a very tight squeeze. I soldered 28mm olives onto the ends of
the main pipes as there weren't any flares in them.
.JPG)
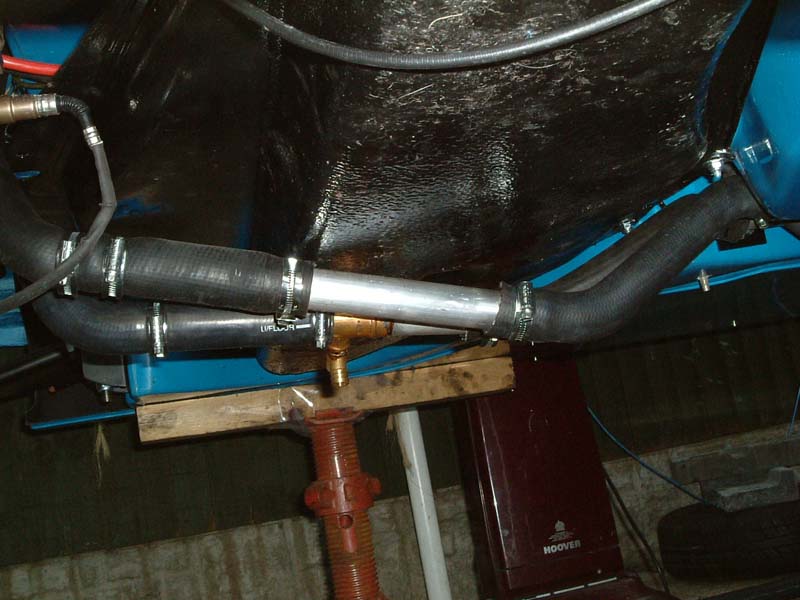
I cut the main coolant pipes just before
the fuel tank so that the tank can be removed at a later date without having to
disconnect all the pluming. The picture below shows the short cut section
under the fuel tank. I've added a bleed valve here so that I can tap off water/coolant without having to remove any hoses. Note that this pipe
section has now been replaced wholely in copper instead of aluminum pipe and
copper joints as shown.
.JPG)
This is the cut section under the fuel tank
that can be removed.
.JPG)
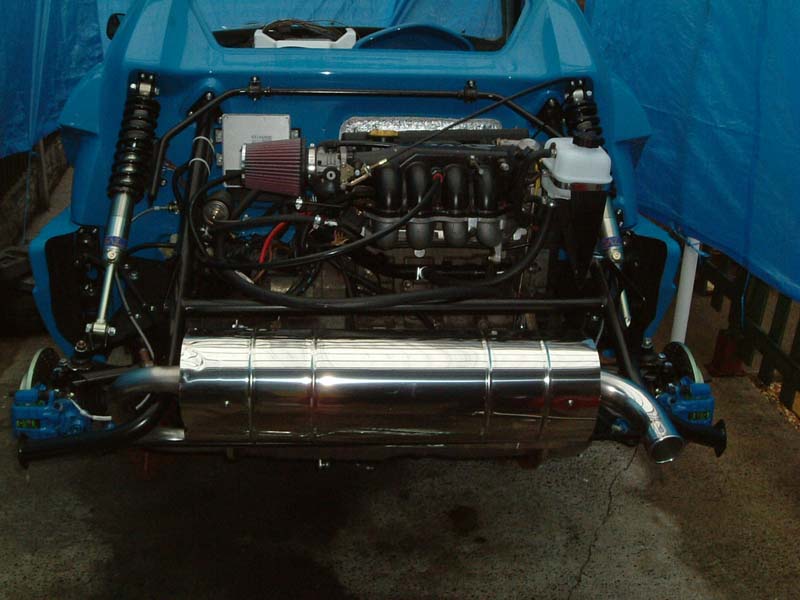
The exhaust was fitted next. No real
problems here other than the heat shield of the silencer needs to be bent down
to clear the cat.
.JPG)
I couldn't resist trying to start the
engine, even though I still haven't got any instruments! I turned it over
for 20 seconds without any fuel or spark plugs to get a bit of oil circulating,
then after that it started pretty much first time!!!!.......
You'll need a good connection to watch
these videos of the engine running as they are quite big.
Video 1 (6.04
MB)
Video 2 (3.25
MB)
Video 3 (2.79
MB)
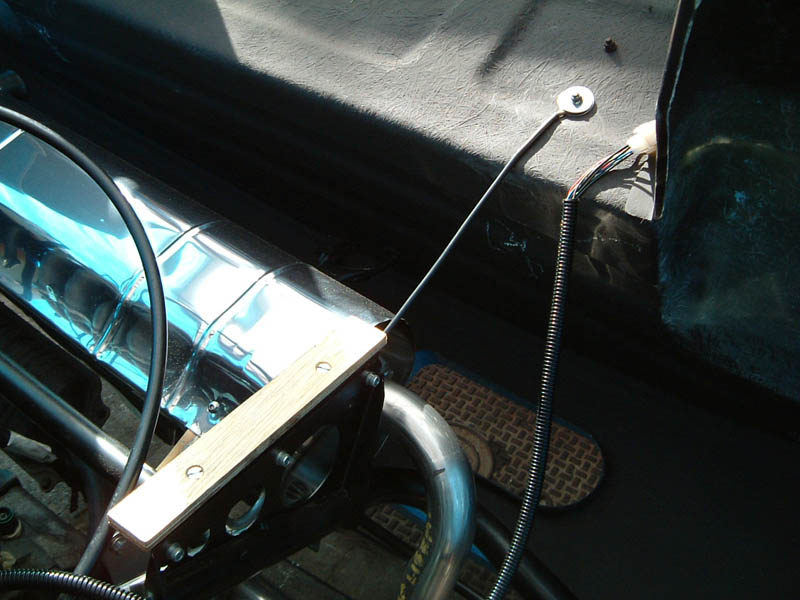
At the front I've made up the pipe work
from 28mm copper pipe, after being inspired by Rich's Libra! I soldered in
the probe for the remote fan thermostat too. The control is at the top of
the picture next to the washer bottle. Note the lack of wiring down the
side of the car and across the top of the radiator. All my wiring is
COMPLETE!! I spent a long time stripping back the GTM supplied wiring loom
and metro loom taking out unused wires.
.JPG)
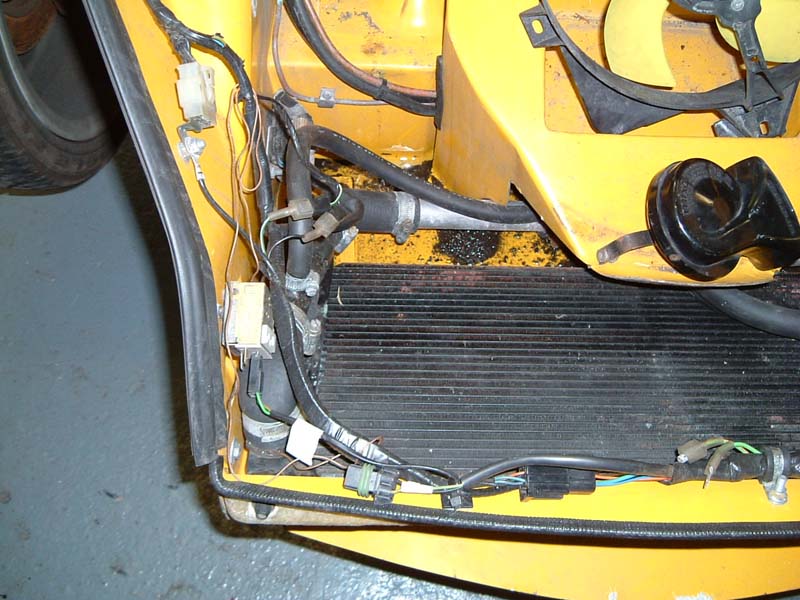
This is an example of what the standard
wiring and plumbing looks like!
.JPG)
The other side of the front bay, also with
solid coolant pipes.
.JPG)
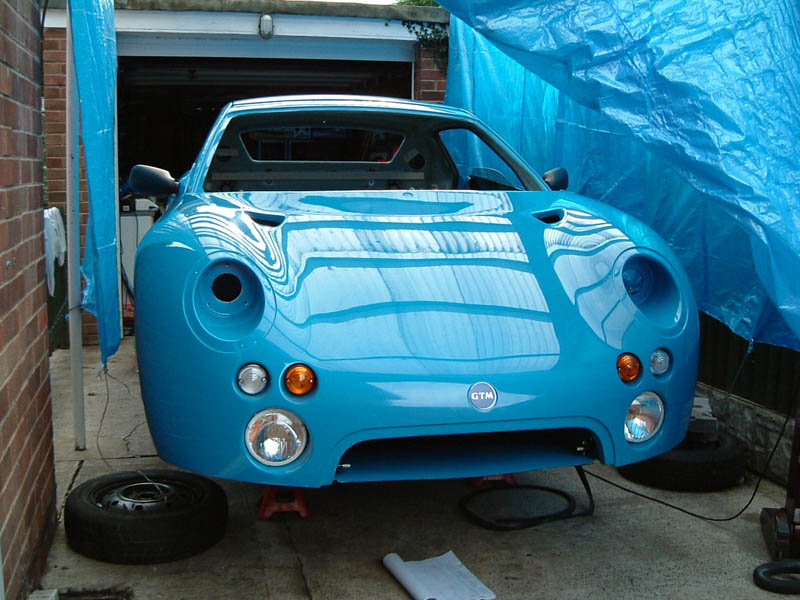
Wow, what a transformation! It's
really taking shape now the front clam shell is fitted. I'm still
waiting for the head lights!!! I need to mesh the air intakes and fit the
grill. I tried all the lights I've got and everything seems to be working
correctly.
.JPG)
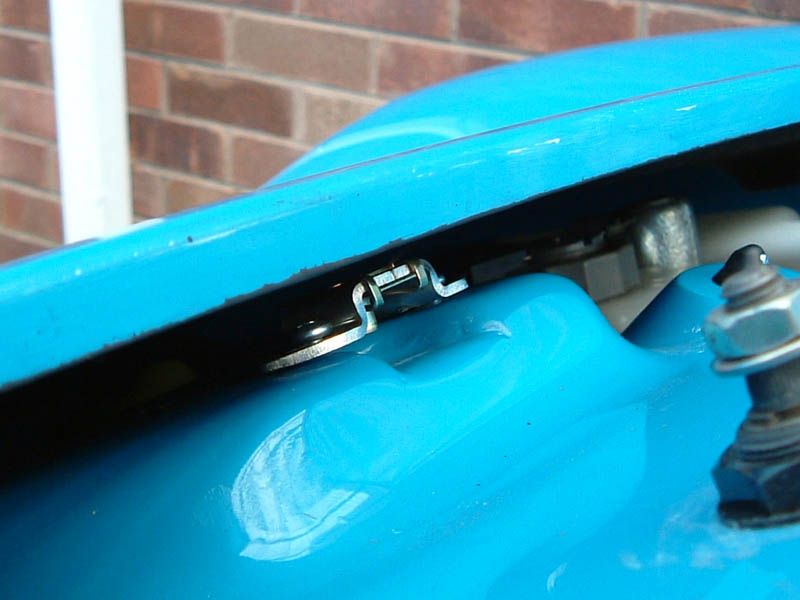
Close up of the pin that allows the front
to pivot and be removed.
.JPG)
Around the top of the clam shells are these
brackets that allow some initial fitment adjustment. The top edges of the
clam shells bolt into these brackets.
.JPG)
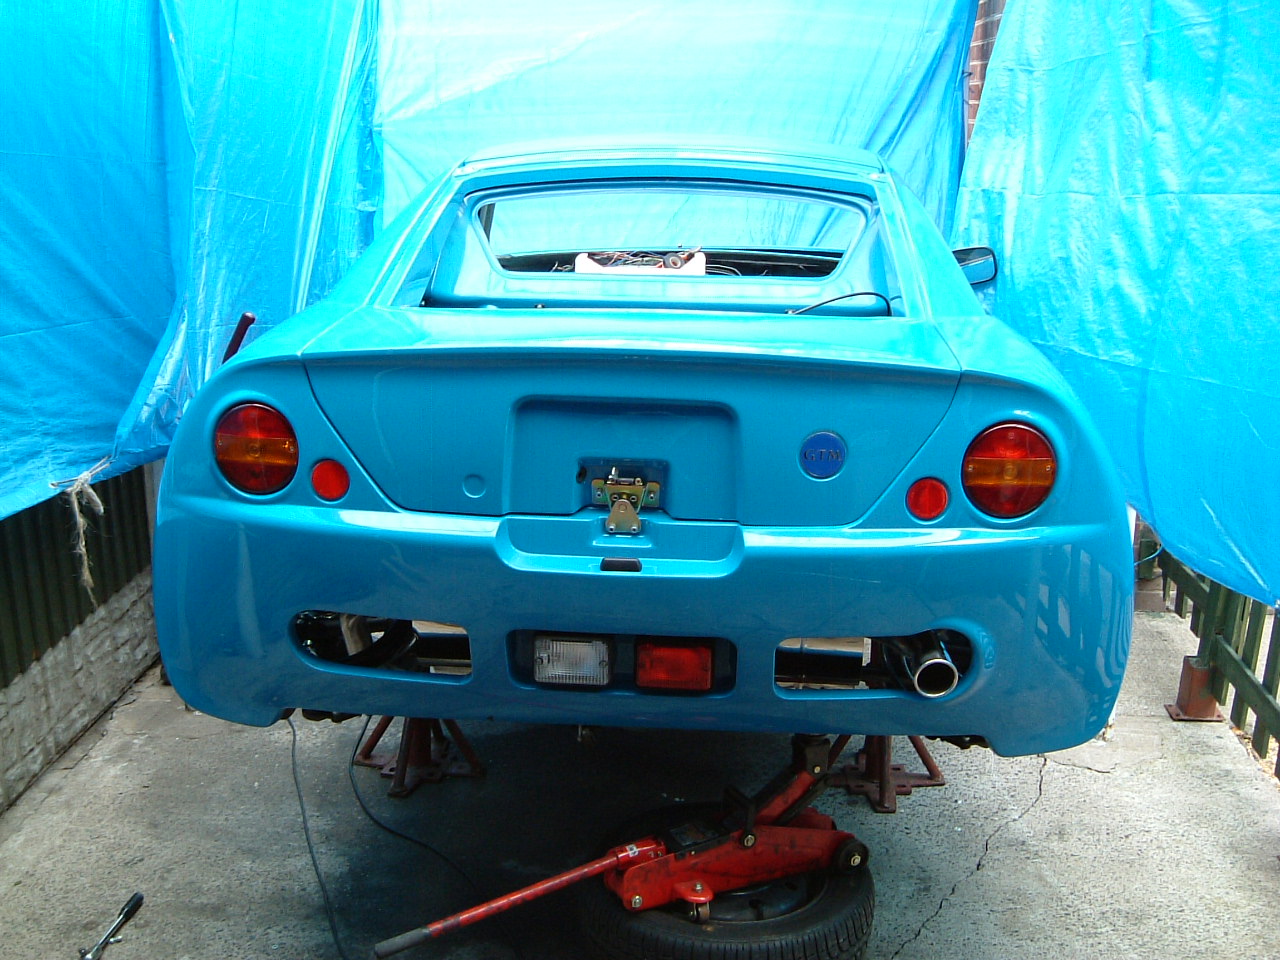
The rear shell in place. The
adjustment for the rear clam is in 'L' shape brackets either side of the
boot. I had to fit a piece of 12mm ply under the passenger side as there
wasn't enough adjustment to get the correct height. The trolley jack is to
raise the exhaust up into its cut out in the rear
shell as the engine steady bar hasn't been fitted yet.
.JPG)
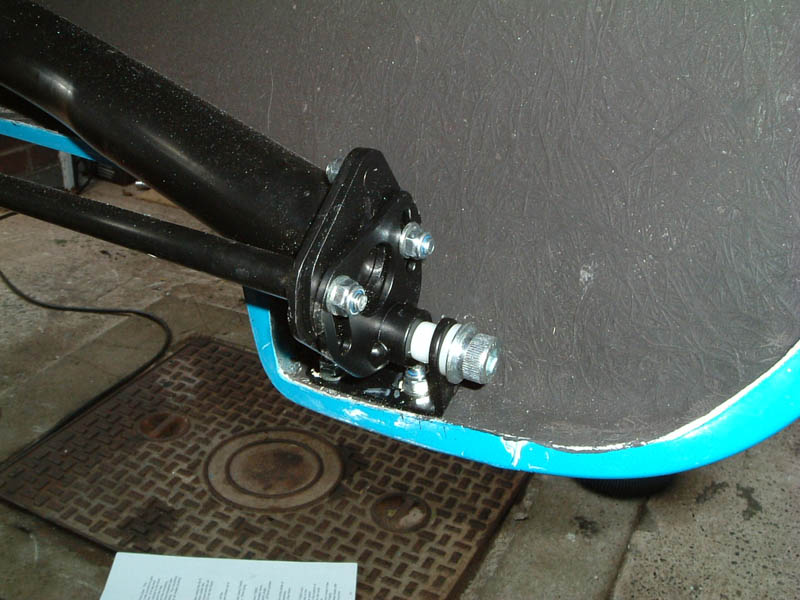
This is the rear pivot hinge. Once
the shell is closed they don't really take any weight as the shell is supported
on the boot brackets.
.JPG)
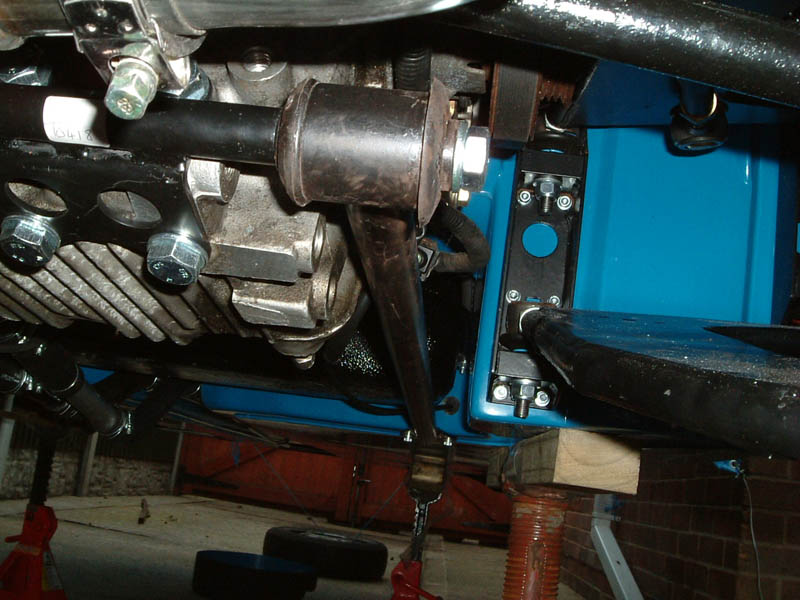
I can now fit the engine steady bar.
Fitment of this is critical as it determines the height of the tail pipe exiting
the rear shell. I jacked it up just higher than I wanted it, fitted the
steady bar then once I released the jack the exhaust dropped into the correct
height.
.JPG)
This picture shows the 12mm ply that I had
to fit to the boot support brackets. I also fitted the rear stay cable to
the shell.
.JPG)
I masked off the area around the rear
quarters whilst I painted the black edge to hopefully get a neat finish.
.JPG)
I ended up stripping off this paint and re
doing it. I initially did it in window primer (the stuff windscreen
companies use to paint the black band around windscreens) but I didn't like the
result as you could see the brush marks. I sanded it back and sprayed it
in a matt black.
.JPG)
|